osm2pgsql
OSM Loader Tool
There are two ways to load OSM file into PostGIS.
Load using the OSM Loader in Webmin.
Load using command line.
Note
In our examples, we will be loading the PBF for Andorra available from GeoFabrik (https://download.geofabrik.de/europe/andorra.html).
Load via OSM File Loader
Click the osm2pgsql tab as shown below
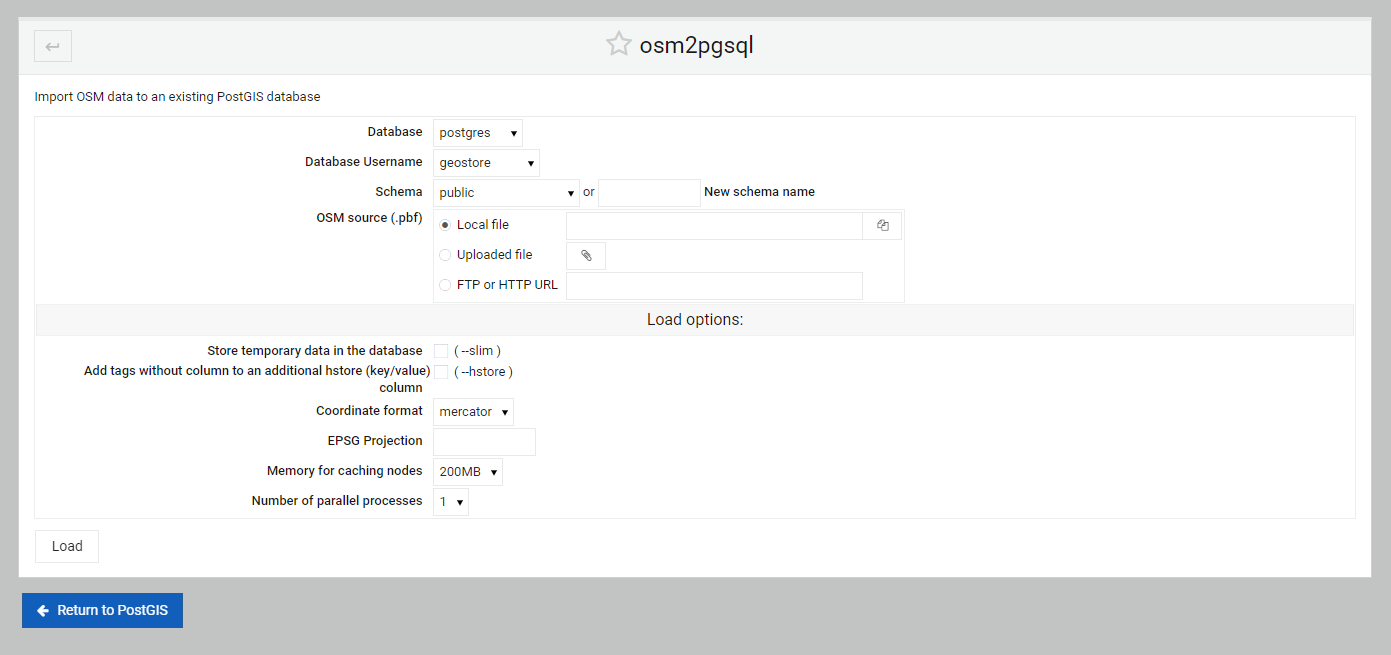
The load options are displayed below.
For our example, we’ll load the smallest PDF availabel from GeoFabrick, Andorra
1. Go to the Europe section of the GeoFabrik Download Server:
https://download.geofabrik.de/europe.html
2. Locate the file for Andorra
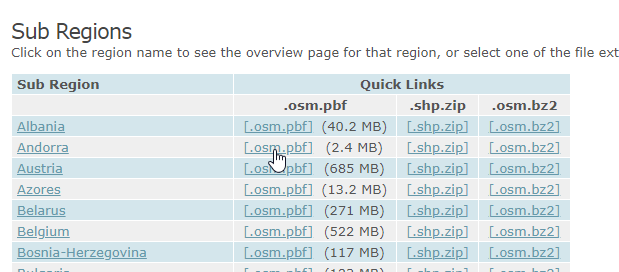

3. On the PBF link, right click and select “Copy Link Location”

4. Paste the copied link into the ‘FTP or HTTP URL’ field
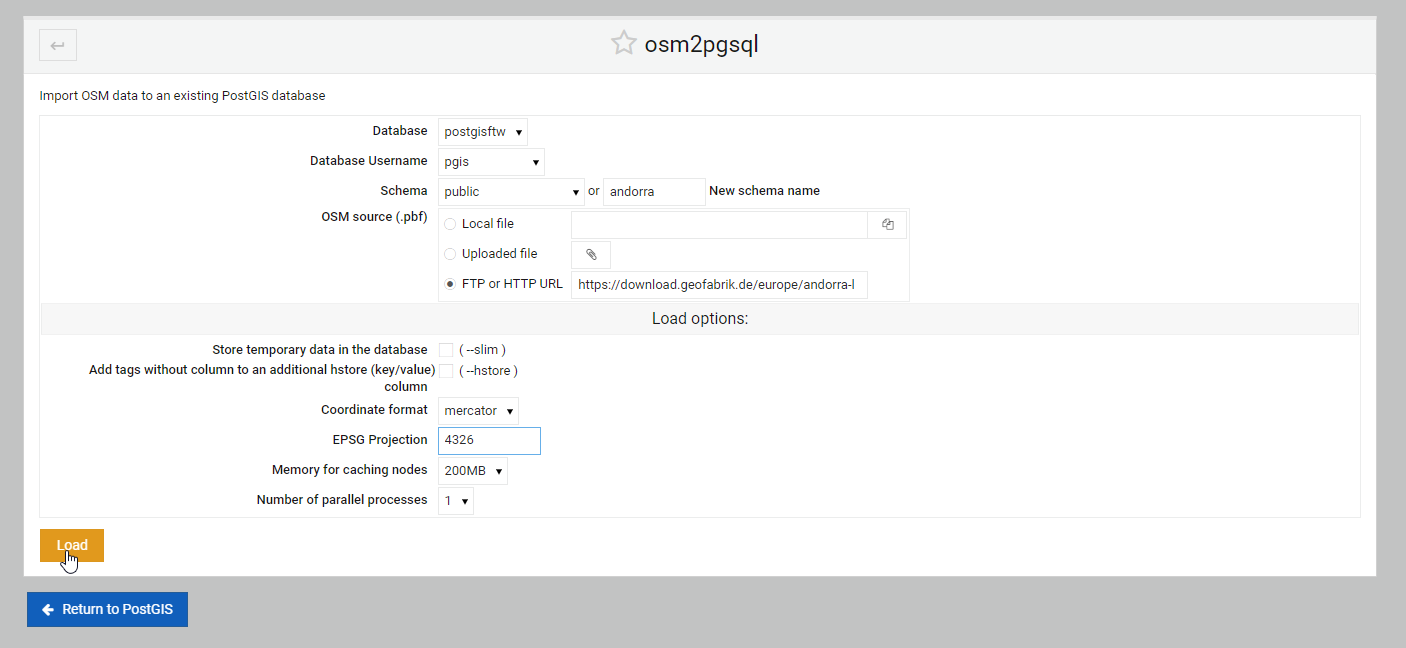
For database, select postgisftw.
For user, select pgis
For EPSG Projection, enter 4326
Select both the Slim and Hstore options
5. Click the Load button
Confirm Data Load
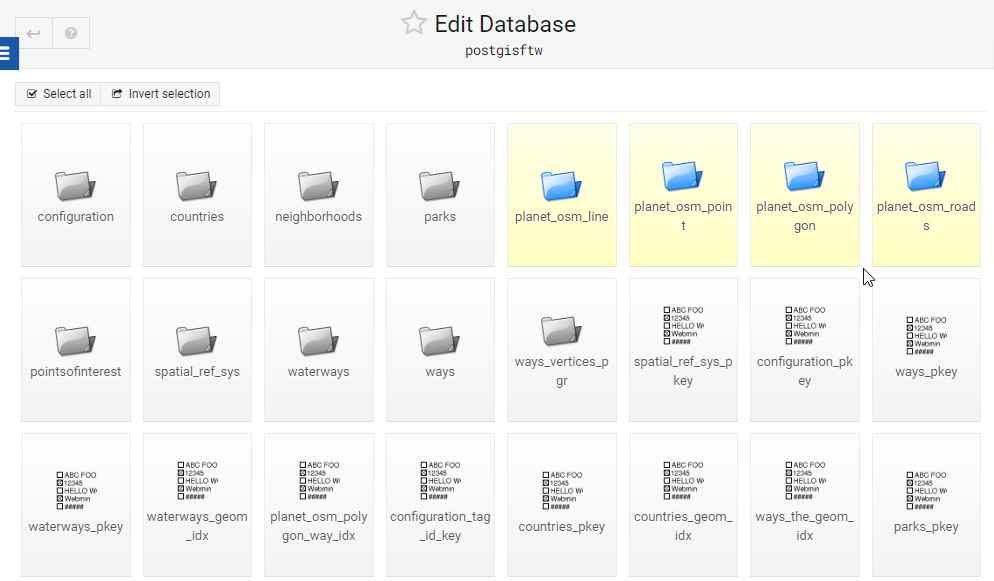
If we examine the tables in our postgisftw database, we see that 4 new tables were added:
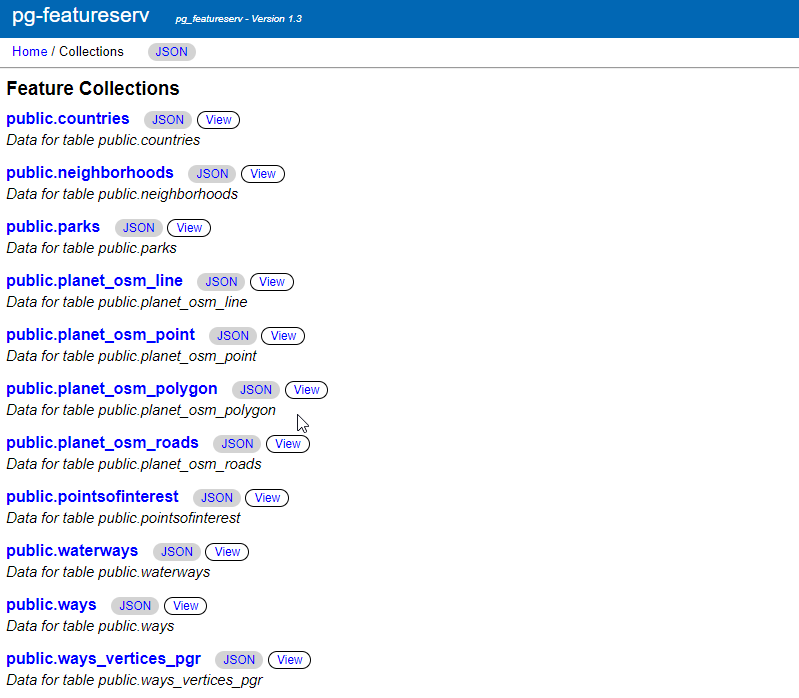
We can also now view our data using pg_featursrv (or pg_tileserv)
Go to :9000 and note that 4 items have been added to the available Feature Collections (Line, Point, Polygon, and Roads):
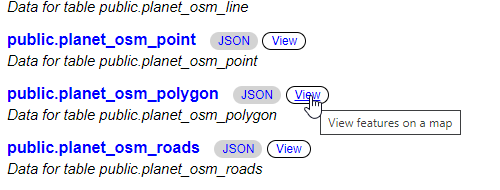
Click the View link for the Polygon:
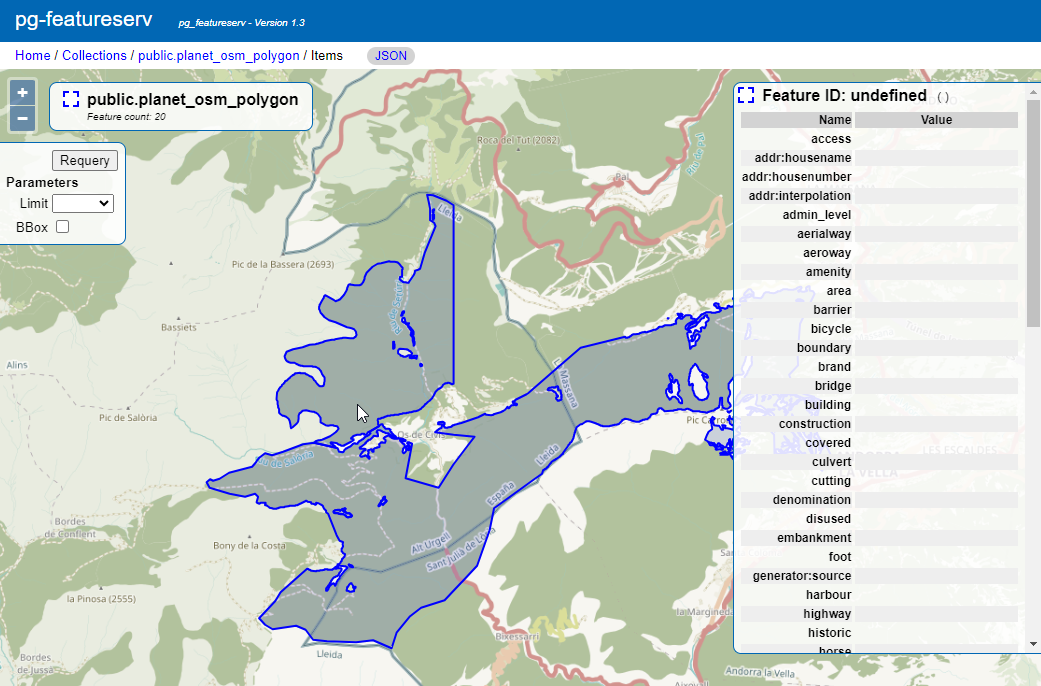
The layer is displayed as below
OSM Tool Options
1. General Options
Database: select the database you wish to load the shape file to.
Database Username: The postgres user who will load the file.
Schema: Select a schema from the drop-down or create a new schema.
OSM source (.pbf): The options are Local file, Uploaded file, or FTP or HTTP URL
2. Load options:
Store temporary data in the database ( –slim ): Enable the slim option
Add tags without column to an additional hstore (key/value) column ( –hstore )
Coordinate format: Options are Mercator or Lat&Lon
EPSG Projection: Set ESPG projection (e.g. 4326)
Memory for caching nodes: Default options are 200 MB, 800 MB, 1000 MB, along with increments depending on available RAM.
Number of parallel processes: The drop-down will display the number available based on your hardware.
Load via Comamnd Line
Usage
To load the same PBF we loaded above via osm2pgsql command line, we could use below:
osm2pgsql --slim --hstore -C 200 --username postgres --database demodb /opt/rhode-island-latest.osm.pbf
The full usage commands are show in the help section below.
osm2pgsql usage can be found using the ‘osm2pgsl –help’ command:
[root@postgis ~]# osm2pgsql --help
osm2pgsql: /usr/pgsql-12/lib/libpq.so.5: no version information available (required by osm2pgsql)
osm2pgsql version 1.2.0

Usage:
     osm2pgsql [options] planet.osm
     osm2pgsql [options] planet.osm.{pbf,gz,bz2}
     osm2pgsql [options] file1.osm file2.osm file3.osm

This will import the data from the OSM file(s) into a PostgreSQL database
suitable for use by the Mapnik renderer.

 Common options:
    -a|--append      Add the OSM file into the database without removing
                     existing data.
    -c|--create      Remove existing data from the database. This is the
                     default if --append is not specified.
    -l|--latlong     Store data in degrees of latitude & longitude.
    -m|--merc        Store data in proper spherical mercator (default).
    -E|--proj num    Use projection EPSG:num.
    -s|--slim        Store temporary data in the database. This greatly
                     reduces the RAM usage but is much slower. This switch is
                     required if you want to update with --append later.
    -S|--style       Location of the style file. Defaults to
                     /usr/share/osm2pgsql/default.style.
    -C|--cache       Use up to this many MB for caching nodes (default: 800)
    -F|--flat-nodes  Specifies the flat file to use to persistently store node
                     information in slim mode instead of in PostgreSQL.
                     This file is a single > 40Gb large file. Only recommended
                     for full planet imports. Default is disabled.

 Database options:
    -d|--database    The name of the PostgreSQL database to connect to.
    -U|--username    PostgreSQL user name (specify passsword in PGPASSWORD
                     environment variable or use -W).
    -W|--password    Force password prompt.
    -H|--host        Database server host name or socket location.
    -P|--port        Database server port.

A typical command to import a full planet is
 osm2pgsql -c -d gis --slim -C <cache size> -k \
   --flat-nodes <flat nodes> planet-latest.osm.pbf
where
 <cache size> should be equivalent to the size of the
   pbf file to be imported if there is enough RAM
   or about 75% of memory in MB on machines with less
 <flat nodes> is a location where a 50+GB file can be saved.

A typical command to update a database imported with the above command is
 osmosis --rri workingDirectory=<osmosis dir> --simc --wxc - \
   | osm2pgsql -a -d gis --slim -k --flat-nodes <flat nodes> -r xml -
where
 <flat nodes> is the same location as above.
 <osmosis dir> is the location osmosis replication was initialized to.

Run osm2pgsql --help --verbose (-h -v) for a full list of options.
Troubleshooting
If the above commands produce ‘osm2pgsql command not found’, close your existing SSH session and create a new one.
Documentation
Below are resources to get started with ogr2ogr and gdal_translate: