Add Layer
Add a Layer
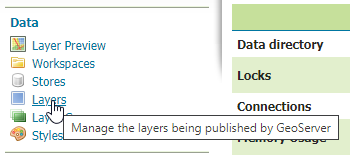
1. On the left menu, click on Layers

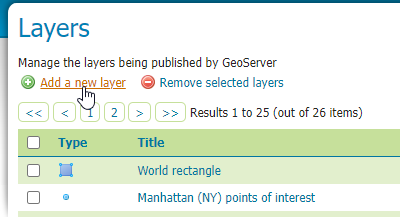
2. Click the “Add new layer” link
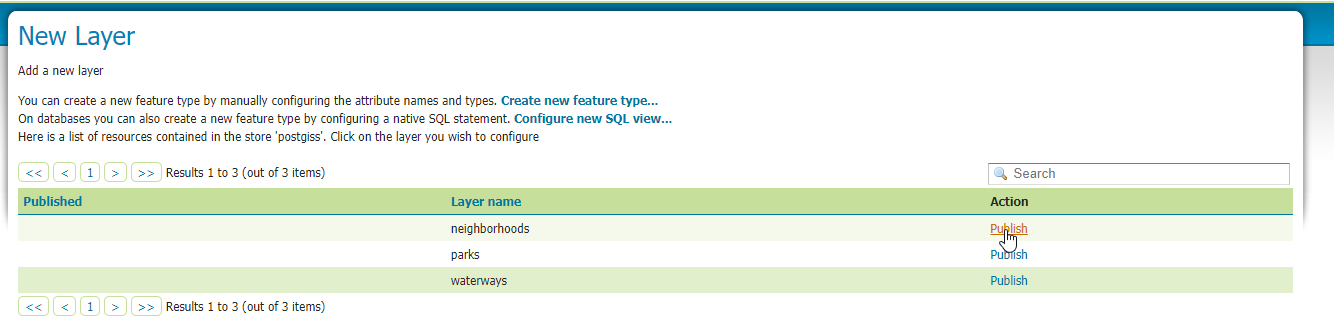
3. In the New Layer dropdown, select ‘postgis:postgis’

4. Upon selection, a list of layers availeble for publiscation will appear. On the “neighborhoods” layer, click the “Publish” link
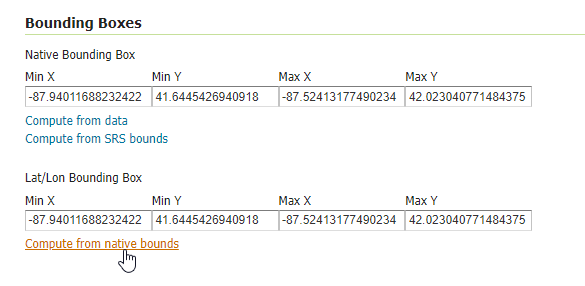
5. Scroll down to the “Bounding Boxes” section.
For “Native Bounding Box”, click “Compute from data” link.
On the “Lat/Lon Bounding Box” section, click “Compute from native bounds”
Accept all other defaults and click “Save”
Note
Repeat above for the Parks layer and Waterways layers.
Preview Layer
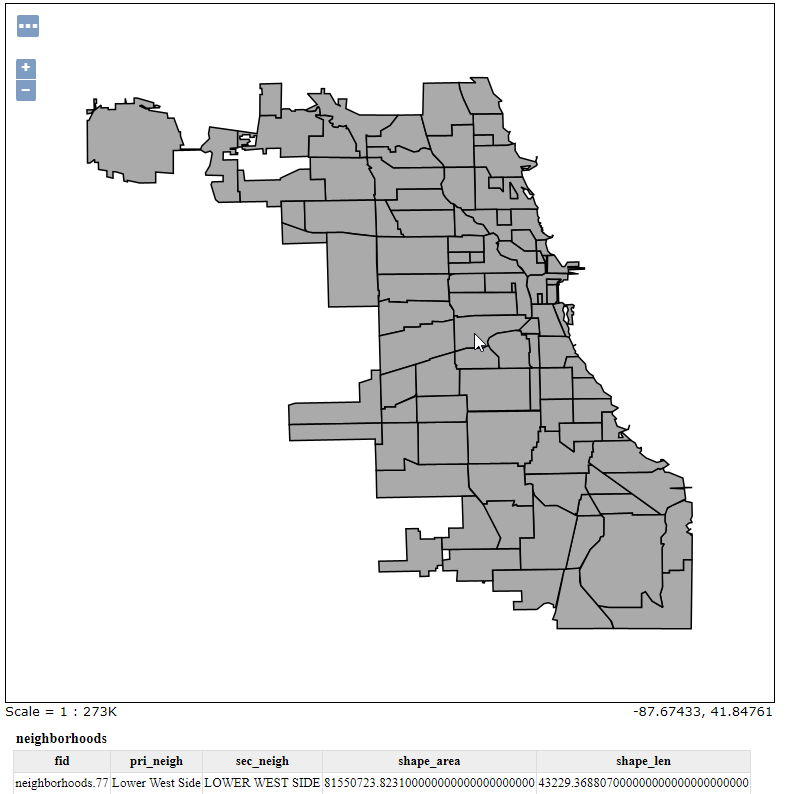
We can now preview our layer.
To do so, go to Layer Preview:

Then click the “OpenLayers” link:
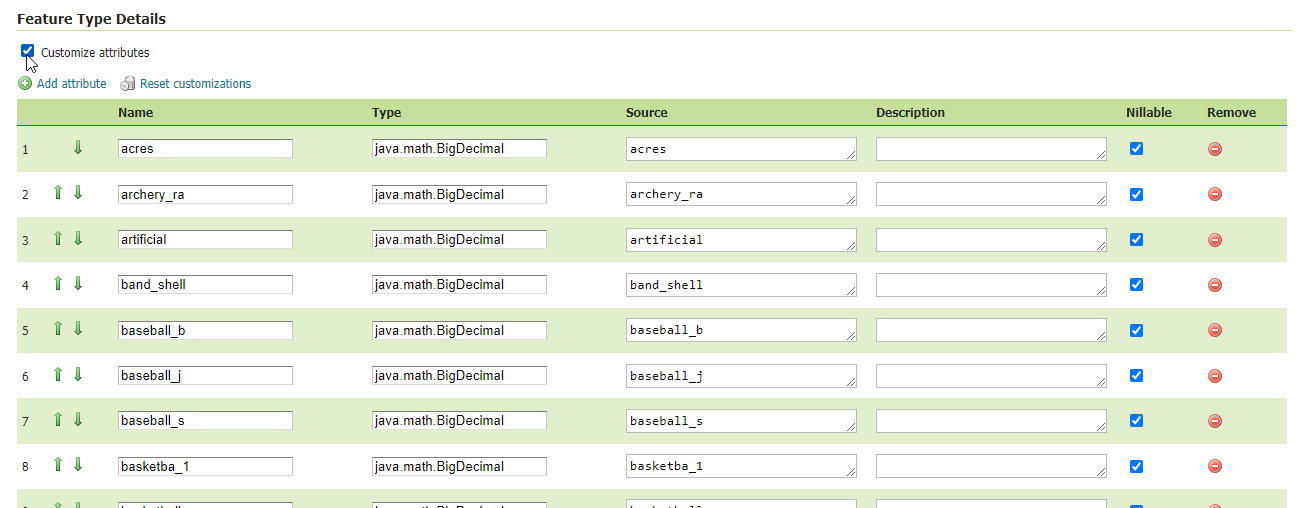
Customize Features
The features available for display can be customized.
To do so click the “Customize attributes” box
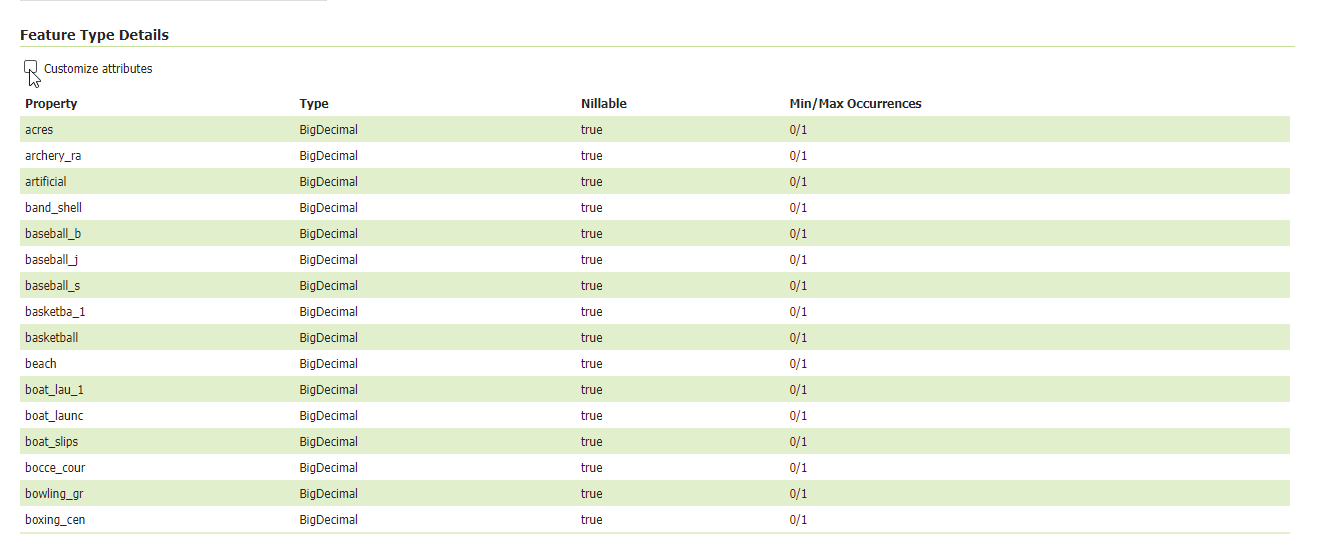
With “Customize attributes” selected, we can edit Name, Type, Source, Description, Nillable, as well as Remove feature: