Create a QGIS Project
Create Project
Open QGIS and under the Project menu, select New
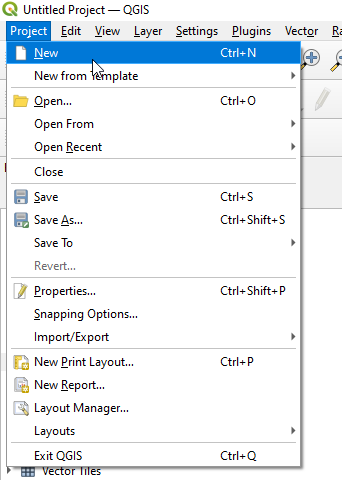

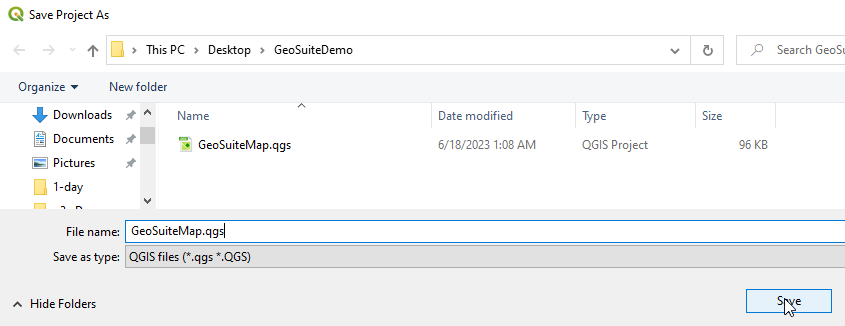
Save your project with the .qgis extention
Add PostGIS Layers
If you didn’t already do so in the previous section, create the PostGIS connection using your pg_service.conf file.
1. Expand the PostGIS node in the left menu

2. Expand the SuiteConn connection we created earlier
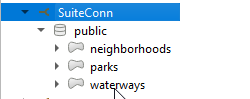
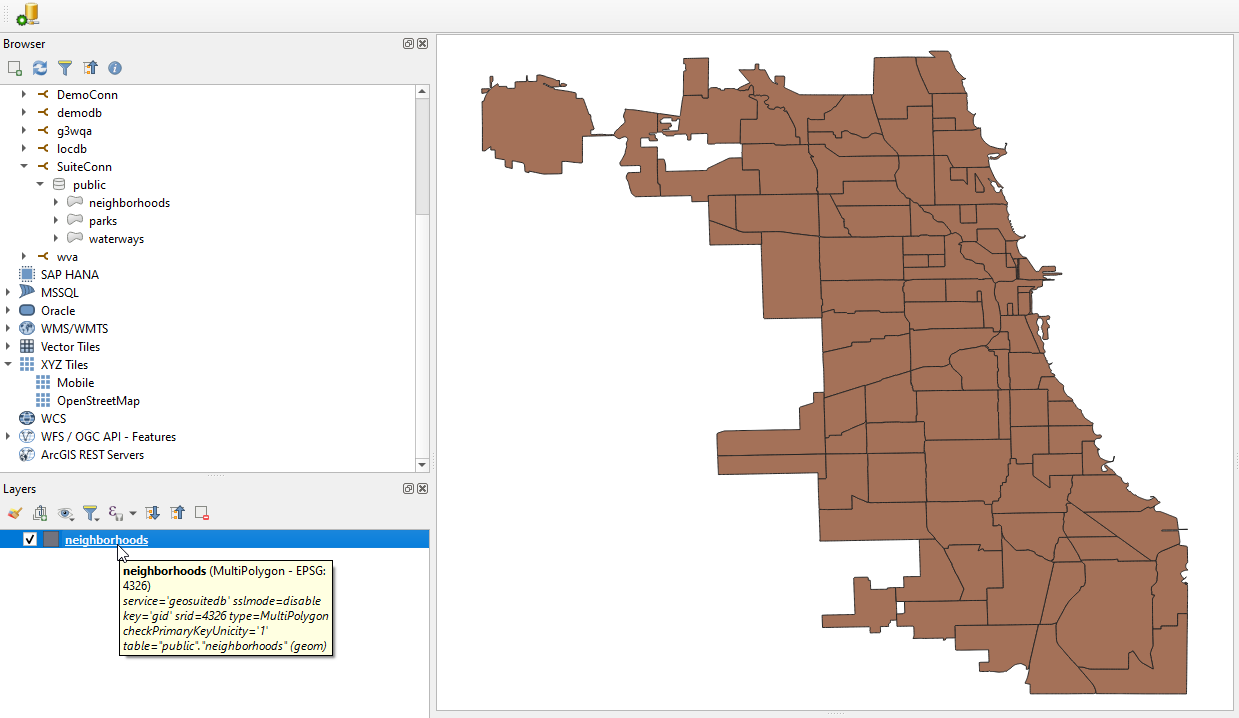
3. Right click on the neighborhoods node and click “Add Layer to Project”
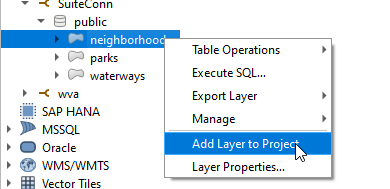
4. The neighborhoods layer is added to our map canvas.
5. Repeat step 3 above to add the parks and waterways layers
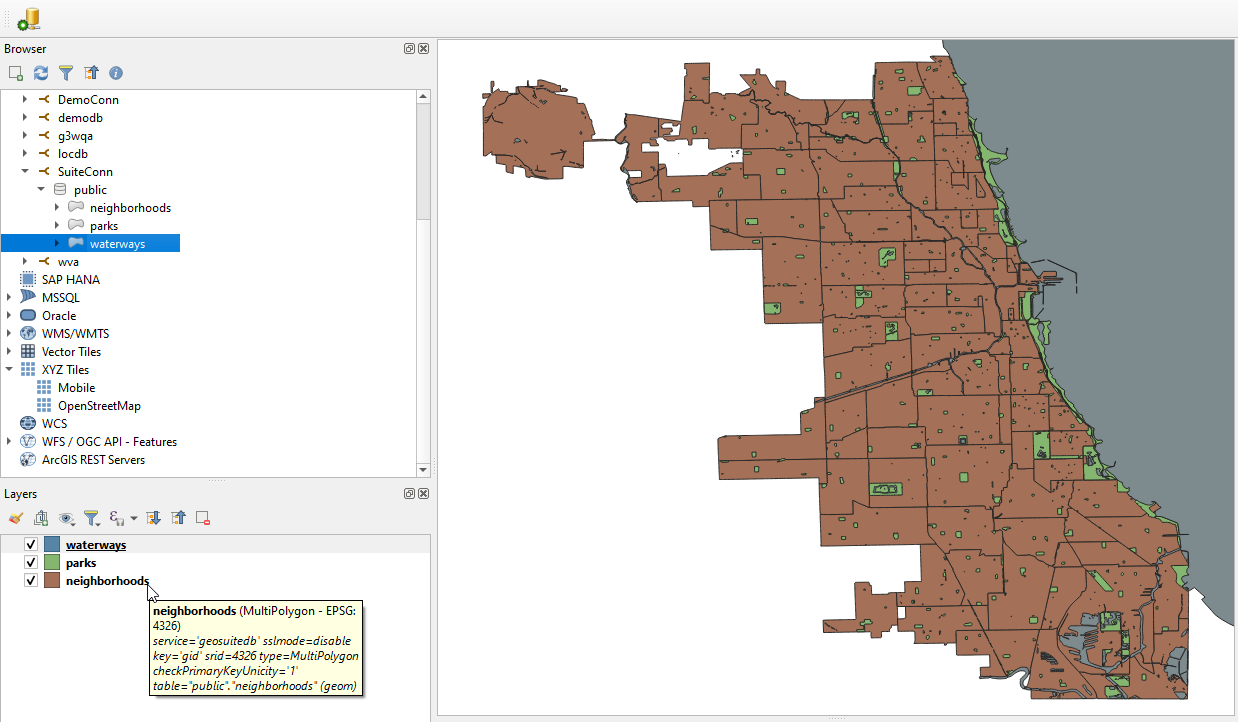
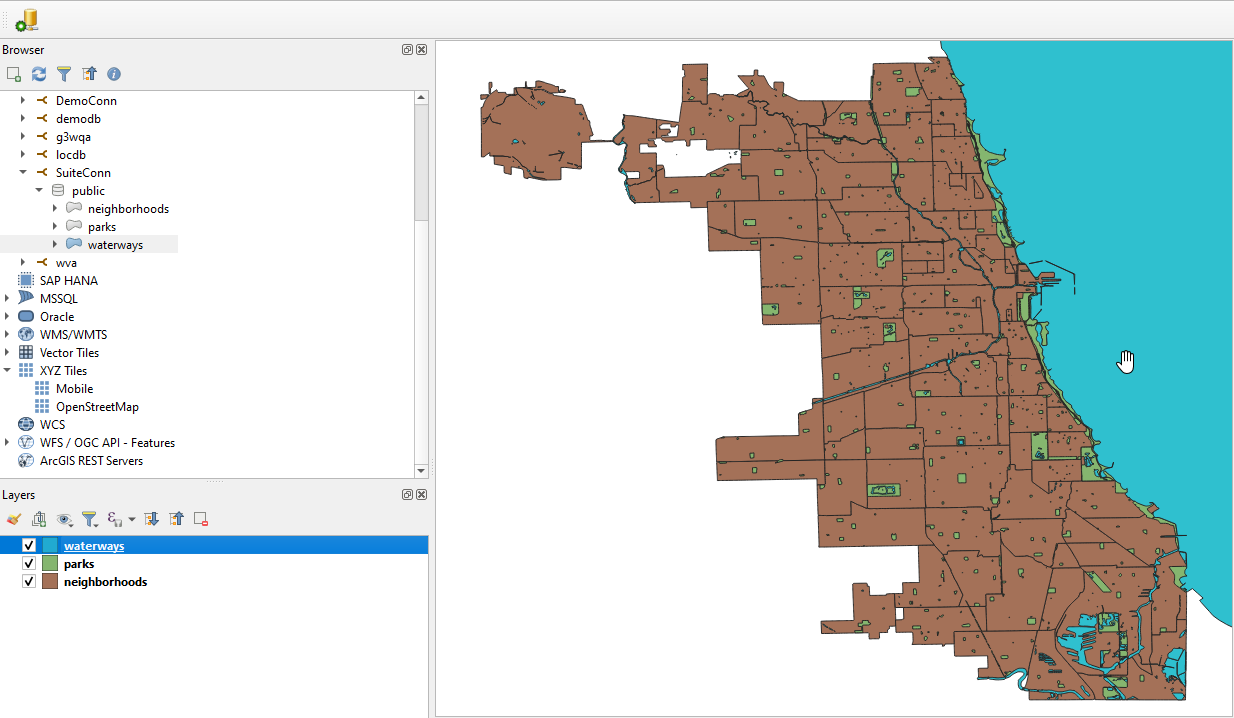
The three PostGIS layers we added are now added to map canvas
Style
As shown, the waterways layer is grey.
Let’s change that to blue.
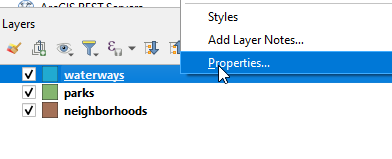
1. Open the layer Properties by double clicking the layer or right click and select Properties
2. Select Symbology on the left menu.
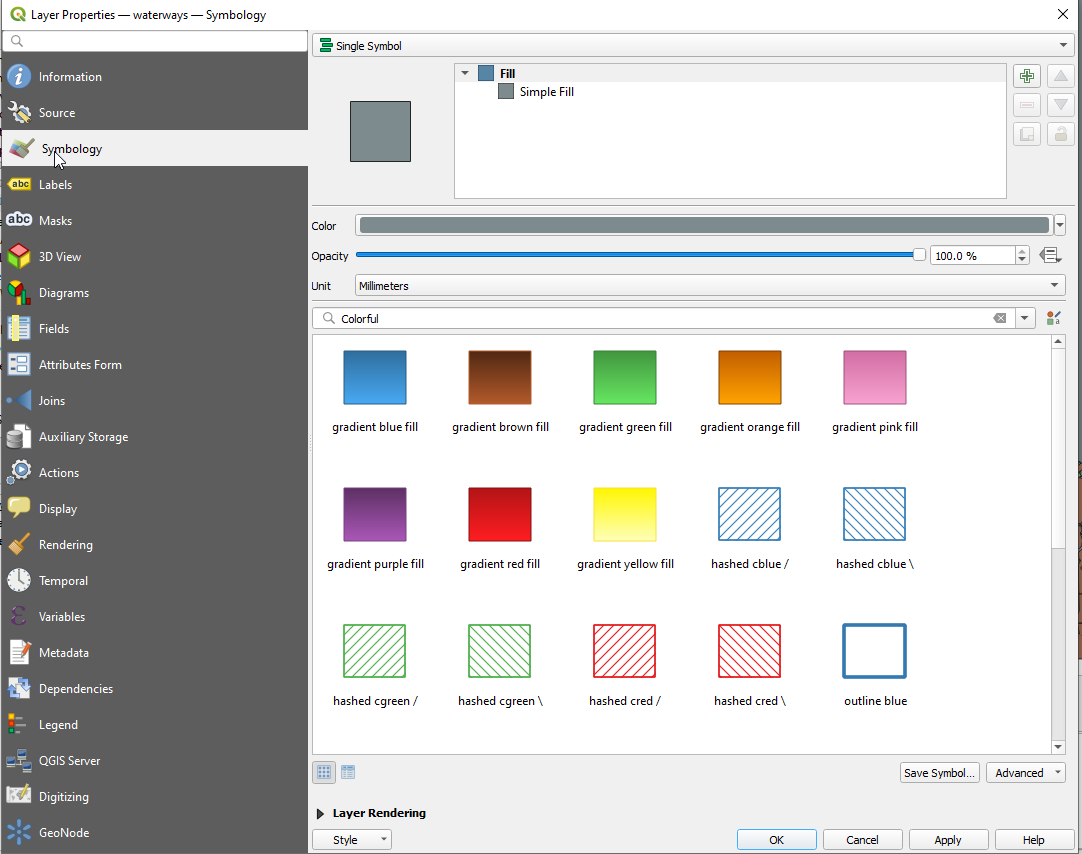
3. Click the color selector to open the Color Palette. Select a blue color and click OK
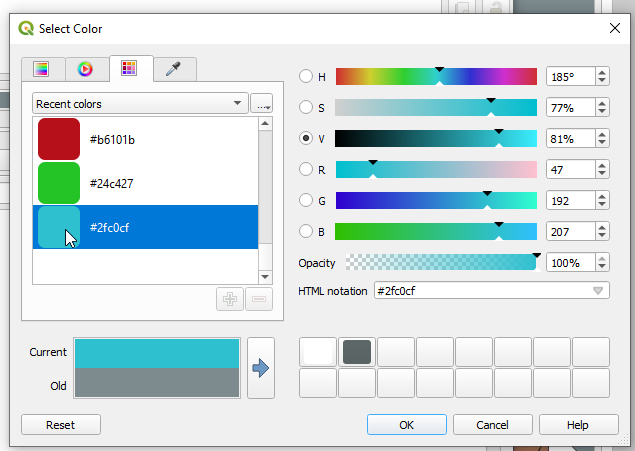
4. The color selector should now reflect the color selection

5. Our waterways layer should now reflect the blue color you selected
Save
Save your changes by going to Project > Save
Congradulations, you have created a QGIS project map.